This is gonna be a quick process on one of the ways I make a face for AKI, mainly VPW2/WM2k.
This tutorial can be adapted to No Mercy mainly through resizing.
For this, I’m going to make an example face, Kane.
In WM2k, Kane’s face is totally obscured except for mouth and glimpses of eyes, so those are going to be my reference points for this tutorial Kane face (which will be different from my previously made one).

Tools:
-
For this specific version of the tutorial, one of the things you’ll absolutely want to use is the Steam/PC version of any WWE 2k game from 2k15 forward, as this is what I’m using. I’ll explain once I get to that point.
-
A graphics program, and for this tutorial, I’m using Jasc Paint Shop Pro, the version I’m using is 7.04. I use this for these face-making processes to keep them consistent, but if you prefer a different program that you’re better at (I prefer Fireworks, for example; some prefer Photoshop), you can use that since basically all the graphics-program steps are consistent across programs.
-
IrfanView. This where all the finishing takes place, and I’ll explain what happens when we get to that.
-
VPW Studio, of course.
The Process:
Make a dedicated project folder for everything to be handily organized into.
1
First, we open up Paint Shop Pro and at least 1 instance of VPW Studio. Those will remain open basically the entire time.
2
In VPW Studio, open up your (or start a new) project that uses WrestleMania 2000 as the game you’re going to work with.
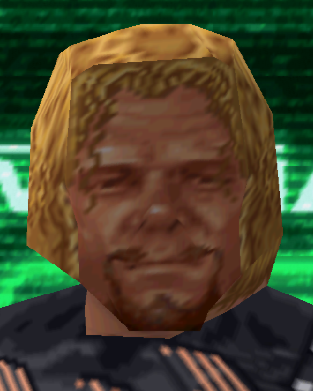
If the database is labeled “correctly”, hit Ctrl-F and type “face t” to go to the first Face Texture entry. Click file 1164, Face Texture 21 (Kane). Double-click to open the preview window, then right-click and Save PNG into your folder.
This is your base reference.
(see above Kane face)
3
Either drag your new 1164.png into Paint Shop Pro, or open it in IrfanView, select all, and copy-paste into a clean new PSP document.
4
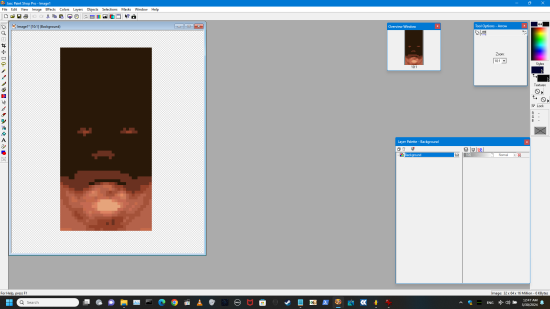
Open up Steam, and then open up your preferred WWE 2k game; for this I’m using WWE 2k17. This assumes you have some experience in the WWE 2k CAW mode, so keep that in mind. For this tutorial, I had the resolution set to 1920x1080, so keep that in mind as well.
Head over to Create-a-Superstar, select WWE Superstar, and open up Kane (Corporate), then in the Costume section, navigate to his Head, zoom in a bit further and do NOT rotate (you want him facing forward), then press your Screenshot key when you get a good shot.
Alternatively, in later games that let you pick each part of your Menu Screen Pose (like 2k19, which I also use regularly), go to the Face, pick an expression you like, zoom in, and screenshot that. This will be the main face you work with. At any point, you can choose to Sharpen if you think it’ll help.
5
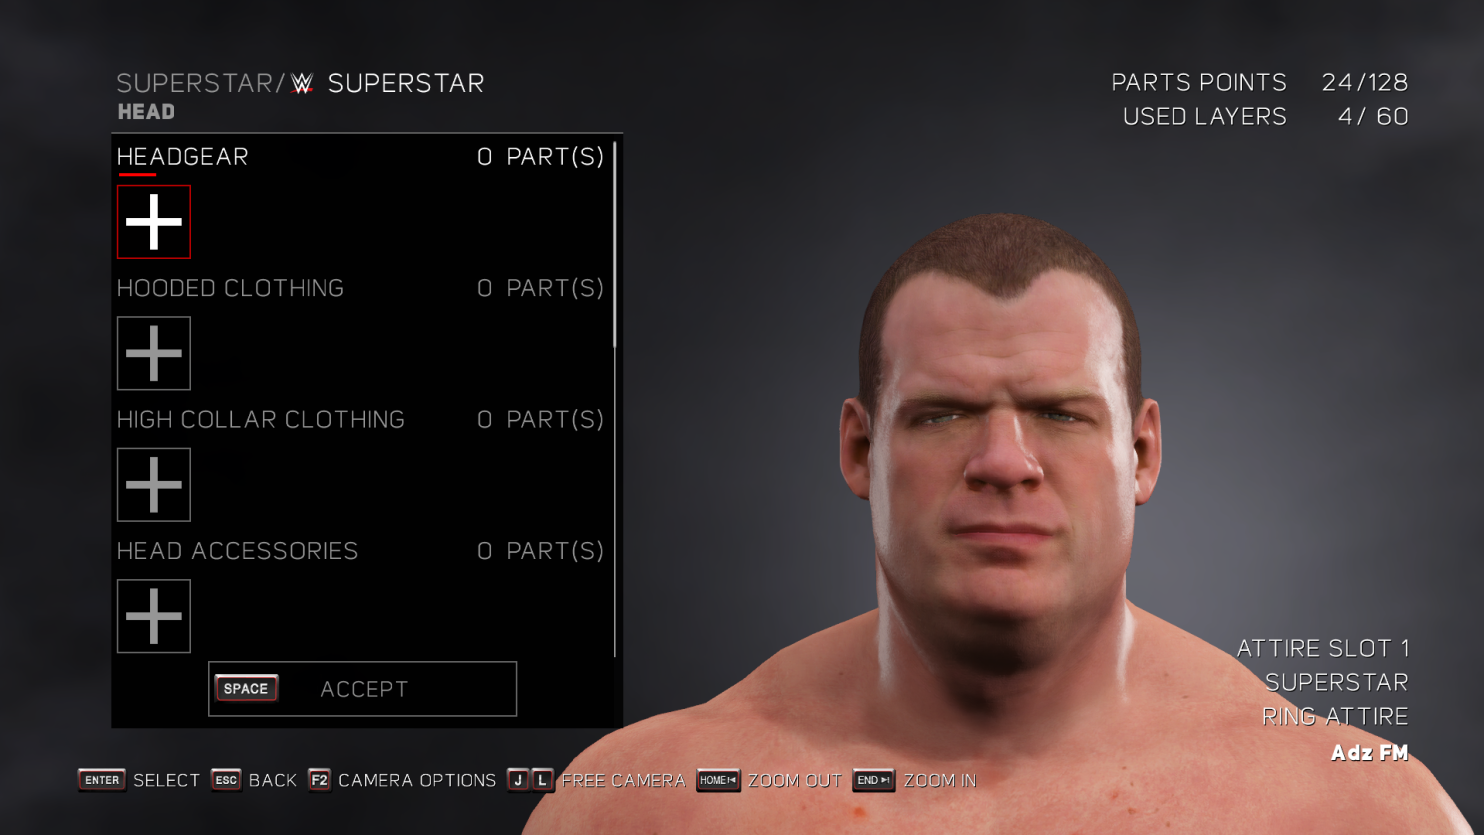
Copy your screenshot of Kane into your project folder so you can find it later when you need it (and also because IrfanView can be trigger-happy sometimes). Now, open it in IrfanView, crop Kane’s head, and copy-paste that into a clean Paint Shop Pro document.
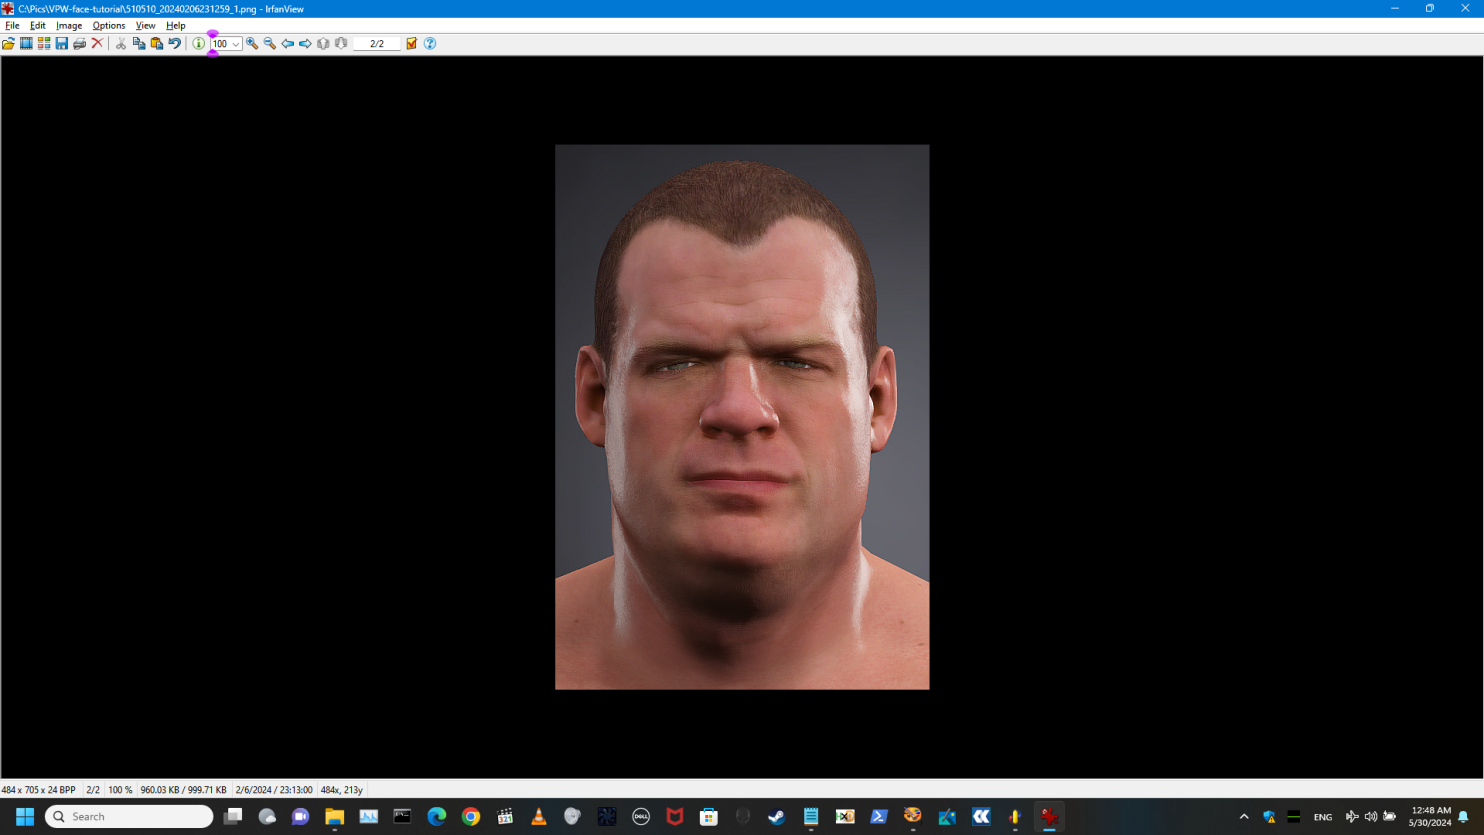

6
Still in IrfanView, hit Ctrl-R and resize the crop by hitting Half. Now copy that and paste it into a new layer on the full-sized Kane document by hitting Ctrl-L instead of Ctrl-V.
7
Go back to IrfanView and shrink it again to half size. Copy that and paste it like in step 6. This will be the MAIN version of the face you work with. Luckily, we won’t need to go back to IrfanView for a while.
8
In Paint Shop Pro, right now there should be 2 documents open: your Kane export from VPW Studio sized at 32x64, and your Kane 2k reference. On your Kane 2k, select his eyes, nose, and mouth, and copy that to a new layer. On the Kane 32x64, paste it onto a new layer there as well. Duplicate that new layer (duplicating will always be helpful in case you need a previous iteration).
9
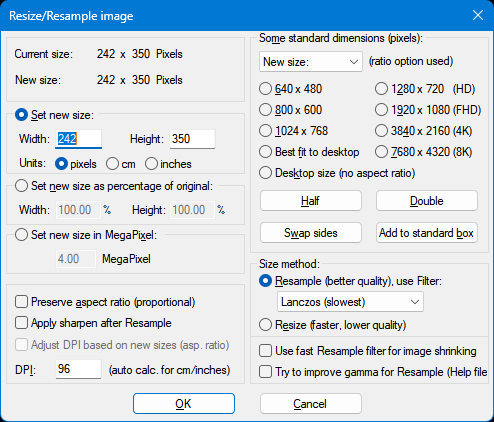
Resize the new layer (Image: Resize, or Shift-S) down to 30 pixels width, playing with height to fit. Make sure “Resize all layers” is UN-checked.
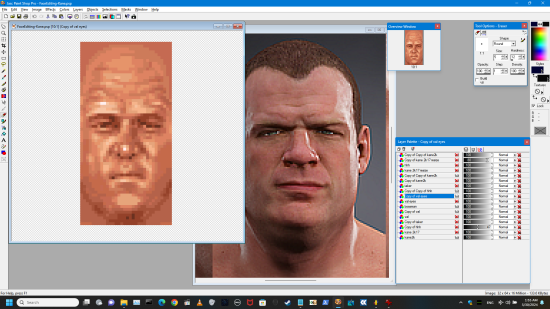
10
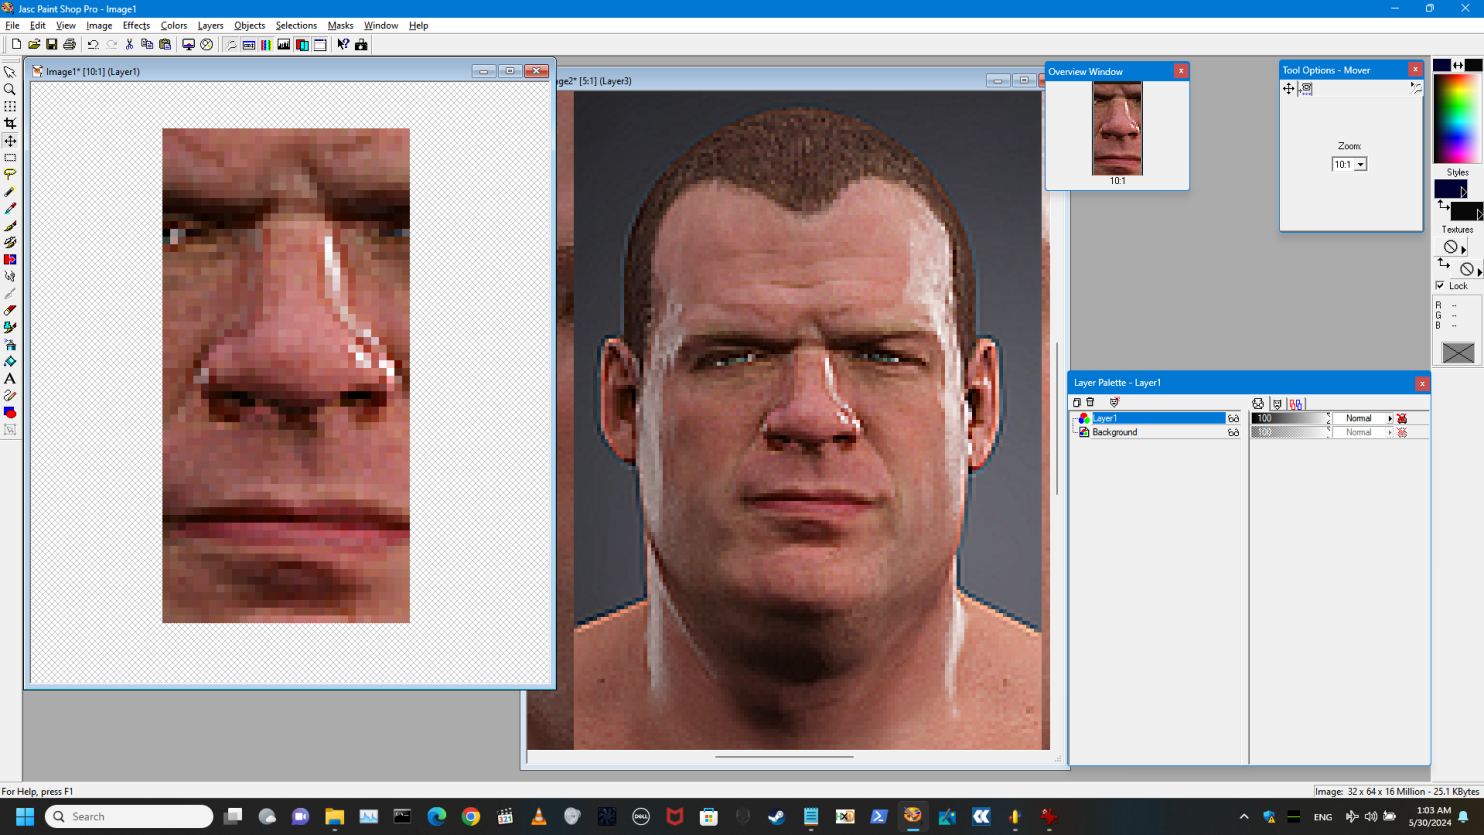
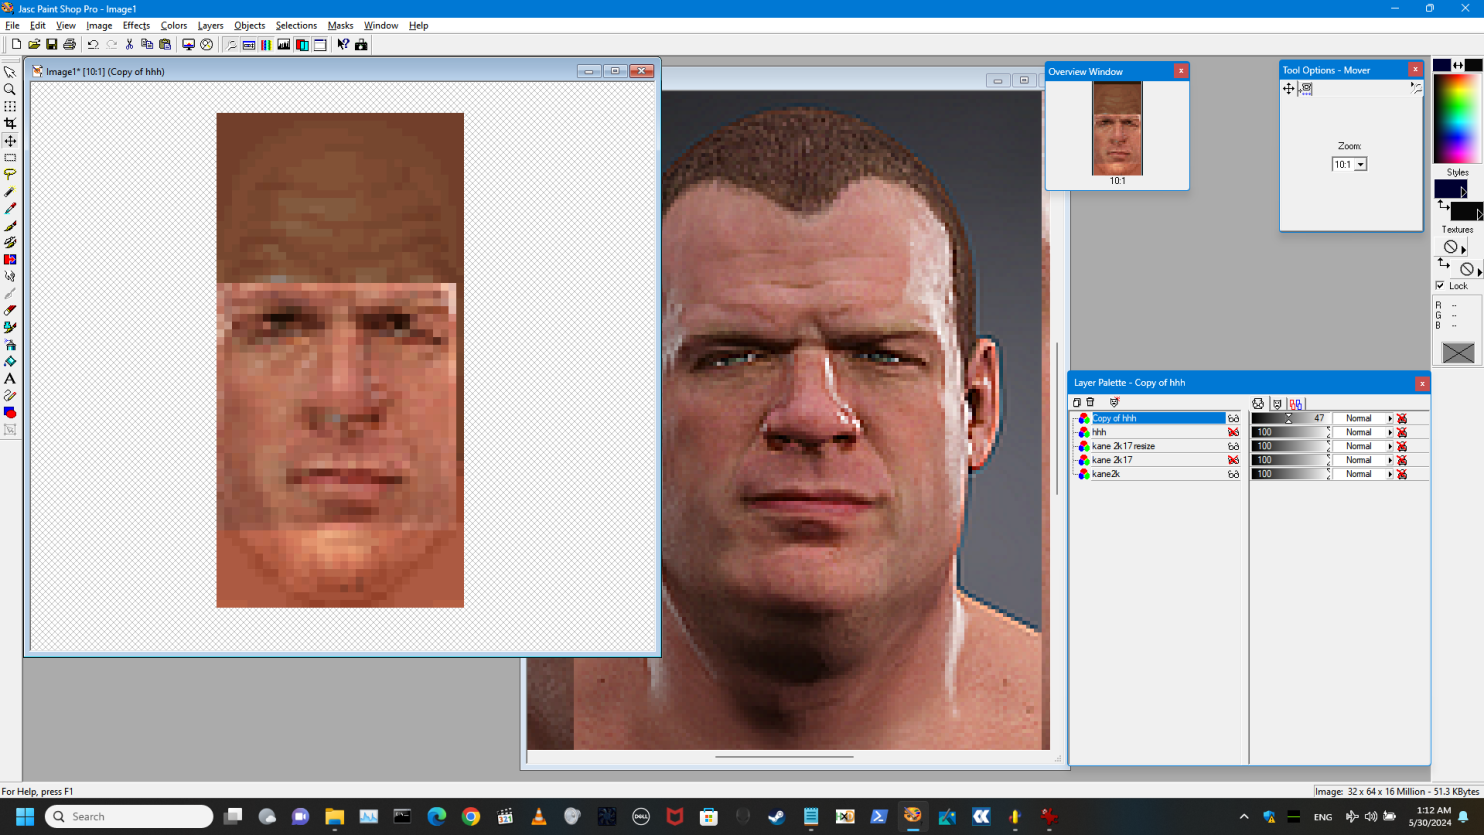
After resizing an applying Sharpen, your Kane 32x64 should roughly look like this screenshot. I mentioned in Step 2 that you Export Kane’s face from WM2k in VPW Studio, but ideally, either during this or before it, you should have as many faces exported from WM2k and VPW2 as possible. As you can see in the unmasked Corporate Kane, his forehead has been through a thing or two, so we’re going to add a forehead that’s been through a thing or two. Export File 1154, Face Texture 05 (HHH), and copy that into a new layer on your Kane 32x64. Duplicate your HHH layer.
One thing to note now is that during your progress, you’ll be checking opacity and hiding/showing layers OFTEN to make sure you have something you like.
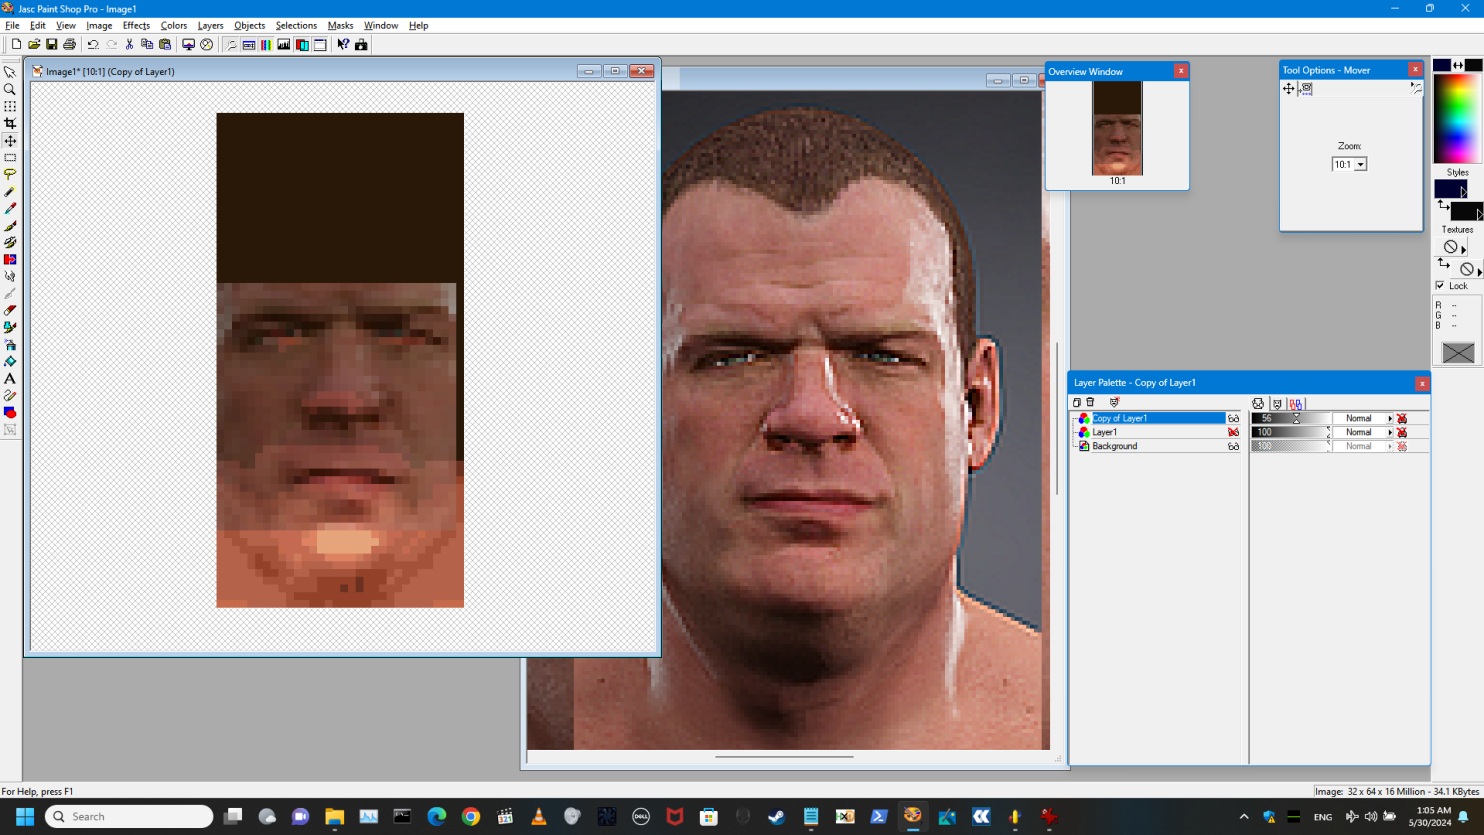
11
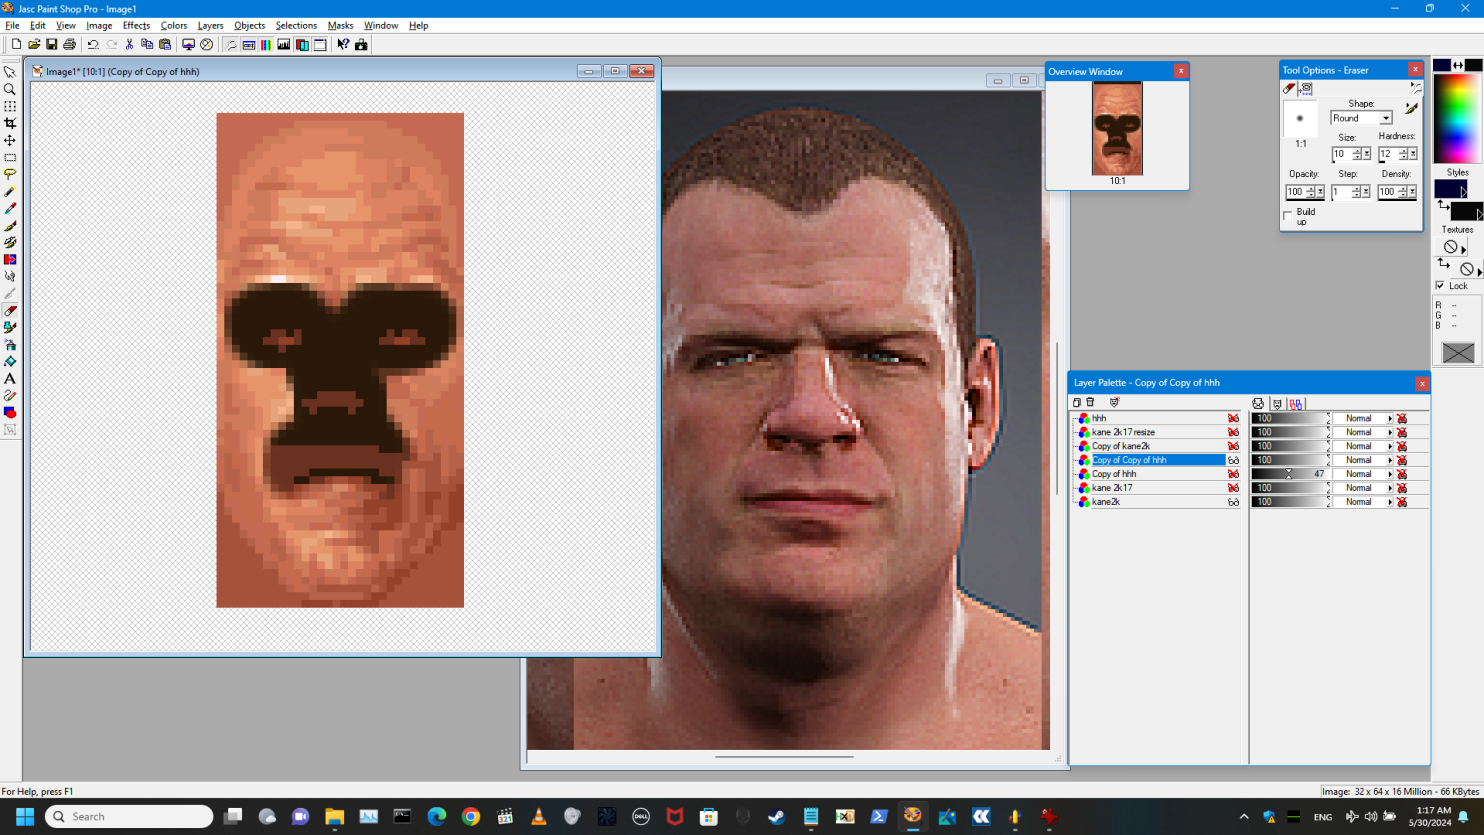
In this screenshot, you’ll notice that HHH’s features are slightly higher than Kane’s, and that’s okay, we only really need his forehead. In a duplicate layer, use an eraser with Size and Hardness set low and then gently erase the eyes and nose, but try to leave the cheeks and mouth/jaw areas as intact as possible. Your screenshot should sort of look like this.
12
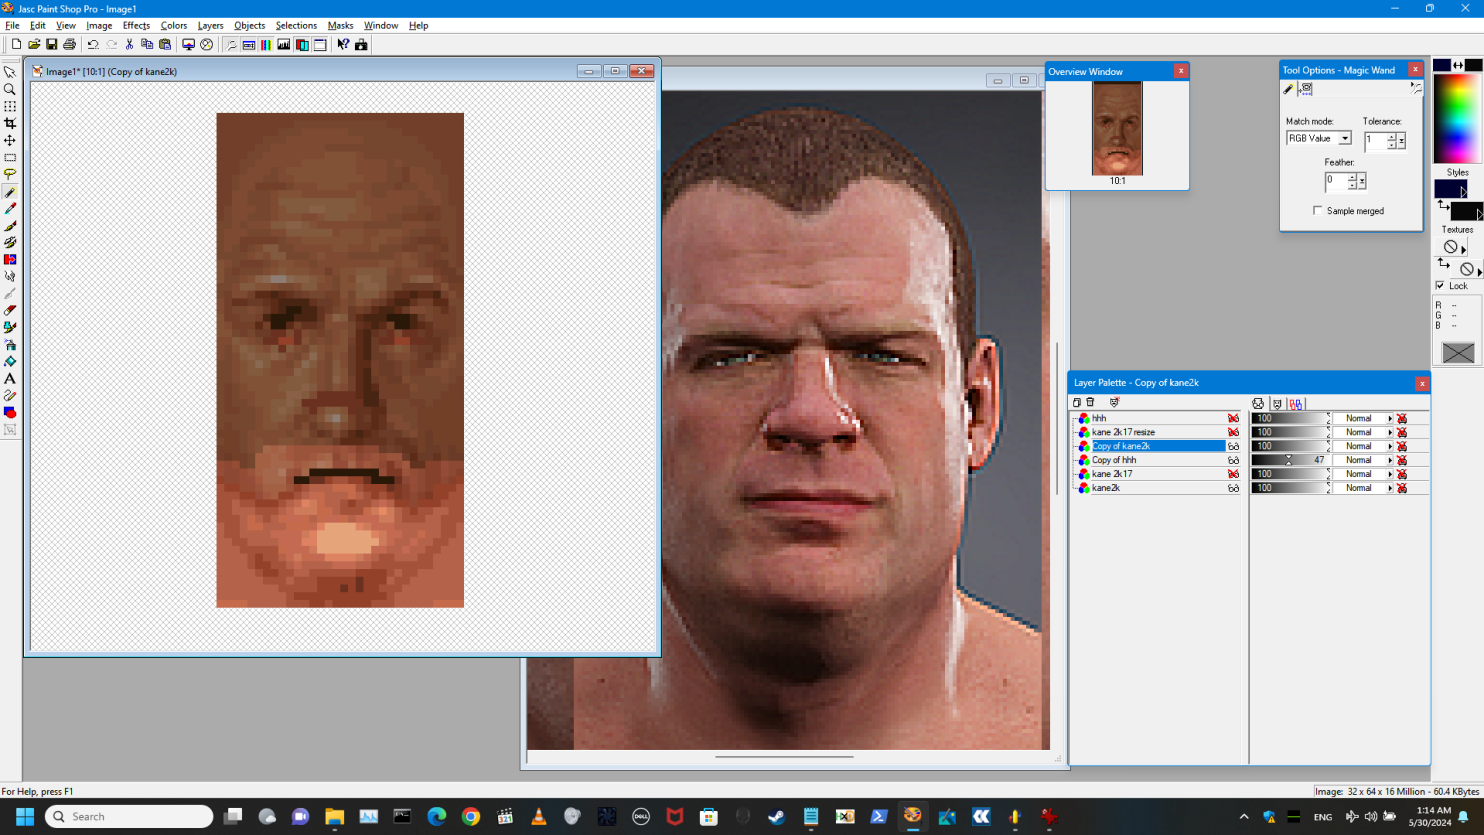
Additionally, on a duplicate of the base Kane 32x64 layer, Magic Wand select the black piece and delete, then select the dark brown piece below on top of the mouth and delete that as well. Leave the nose and eye pieces for now as reference.
13
Kane has a bit of a snubby nose, so we’ll need to find somebody with a snubby nose. Sticking with WM2k, we’re going to export File 1159, Face Texture 10 (Big Boss Man) and bring that into our Kane 32x64. It looks suitable for both nose and mouth so move it vertically slightly so the mouth overlaps with the black line of Kane’s.

14
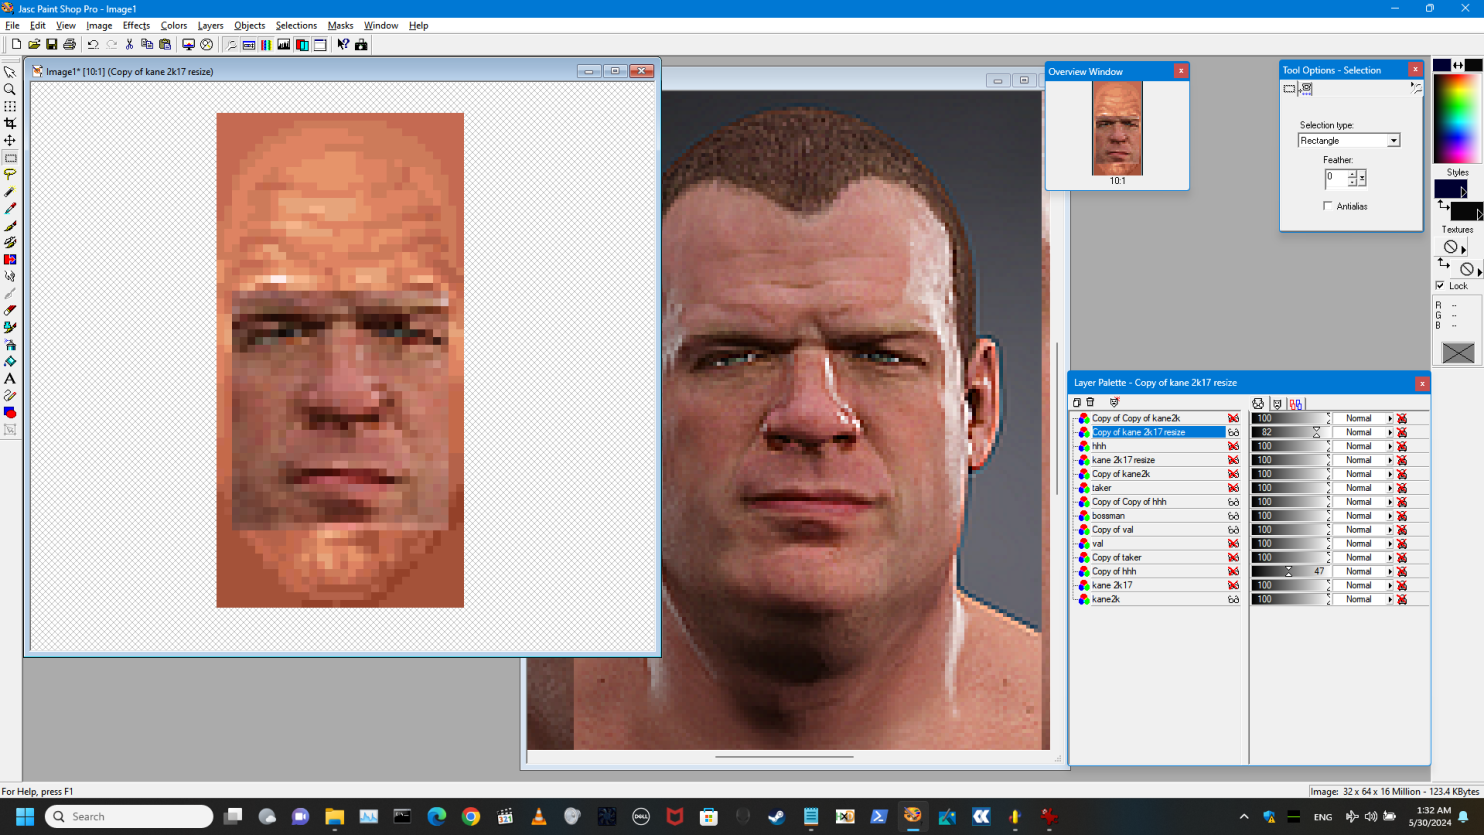
At this point, it’s mainly a matter of finding out what pieces look most like Kane (with Boss Man’s nose and mouth basically good enough, we just need eyes to match Kane’s now).


15
In a 2nd instance of VPW Studio (hold Shift, then click on the VPWS icon on your Taskbar), open a project that uses Virtual Pro Wrestling 2 as the game base. Hit Ctrl-F and type “face co” to go to Face Color. Double-click File 1745, Face Color 0, then click Export Palette. Select JASC Paint Shop Pro Palette in the Type drop-down, and export to your project folder. “1745.pal” will now be your permanent color-matcher moving forward.
16
Open your new Kane face in IrfanView. Looks good, don’t he? In the Image menu, go down to Palette, click Import Palette, then select your 1745.pal Face 0 palette. In the Image menu, you should now see that Increase Color Depth and Decrease Color Depth are both ungrayed, which you should note for the future, but you don’t currently need to do anything. Ideally, your Kane face won’t look any different, because all the colors used will have been the default-palette face colors from the exported faces you used as your work pieces.
17
Hit Ctrl-S and save your new palette-matched Kane face under a new name or iterated name. You now have a usable Kane face!
We’re now going to see if it works.
18
In the instance of VPW Studio wih WM2k open, highlight 1164, Kane’s face, and hit Ctrl-I. Click Browse next to the Replacement File Path and select your new Kane face. Press OK. Now save your project, hit Ctrl-Shift-B to build your modded WM2k file, and when it finishes, hit F5 open up your emulator to test out your face.
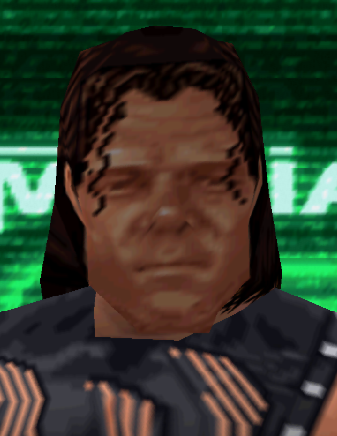
Success! Kind of.
As you can see here, the nose and mouth are a skoche too high and the eyes are a tiny bit too low to exactly match Glenn Jacobs as Kane/Isaac Yankem DDS/Fake Diesel, but we now have a usable face!
I’m gonna go back and make those tweaks, but hopefully I’ve helped the rest of you do your own! 😄