okay people I spent the last half hour getting through maybe the first half of the process here’s a very attractive man
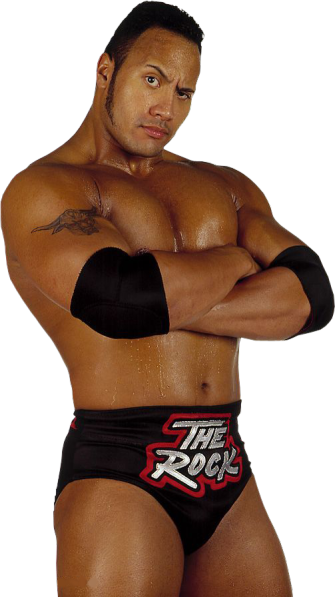
we’re going to use him as our reference today this is a somewhat less attractive man

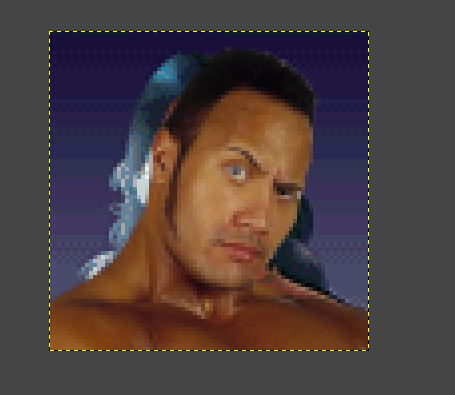
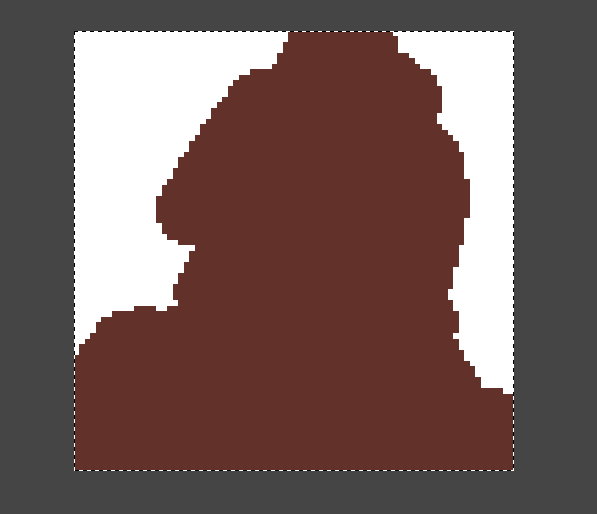
he will also be our reference today Step one is going to be to resize the above image such that it fits within Shaman’s frame like so
next, we’re going to create some LINE ART which is a technical term for “I’m going to trace this to the best of my ability, please don’t laugh”
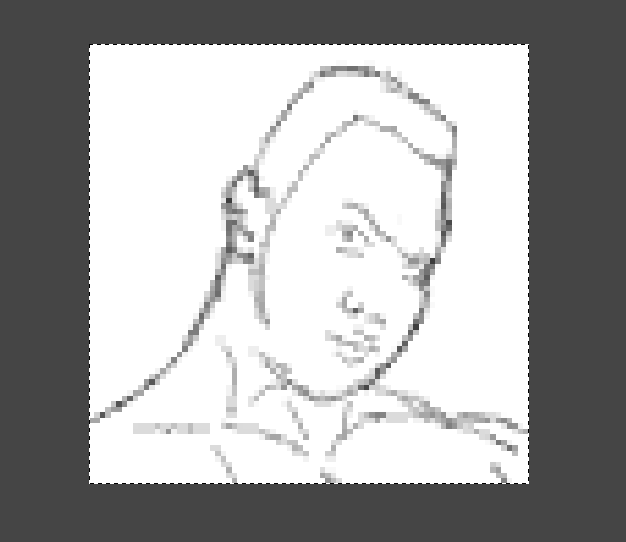
you will usually need one layer of transparency to do the line art, and one white layer underneath to check your work this line art is a decent enough basis to begin what I call the ‘thiccening” yummy
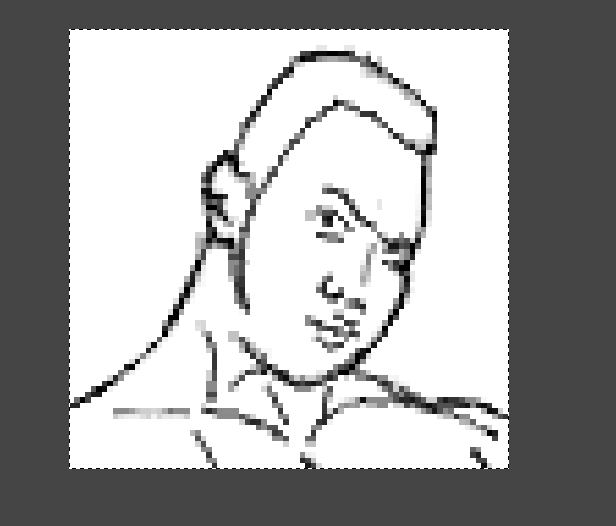
now what we’ve done here is copy the same layer on top of itself several times over making minor adjustments and shaving away blotches that way we have a cleaner, but better-defined frame within which we can start coloring this part is relatively straightforward you can spend as much time here as you want, but you should generally accept when you’re done uh oh I made a mess
OR DID I
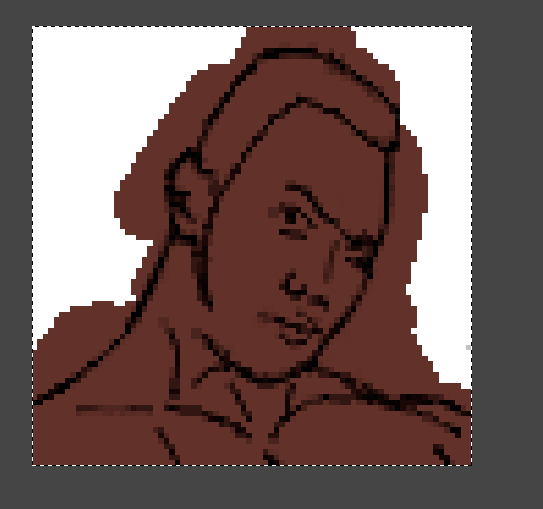
you’ll take whatever Shaman’s darkest skintone is to create your basecoat this is going to make it much easier for you to begin adding on the gradients I’m going to skip the next few, you’ll understand what I did now this is going to look a little weird, but I assure you, this will make sense
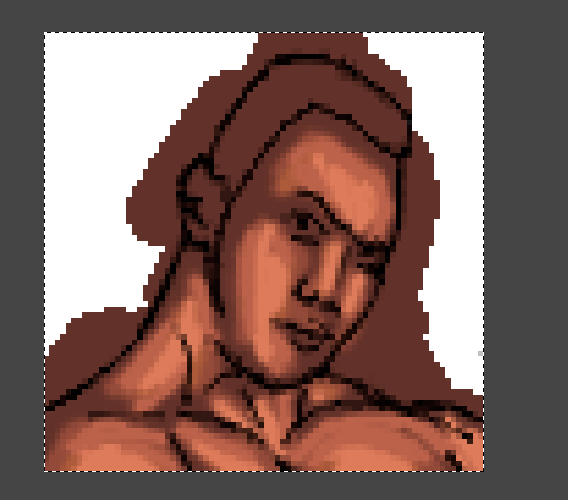
once you’ve applied enough layers, blur it
what tool do you usually use for blurring?
the blur brush
– ragdas
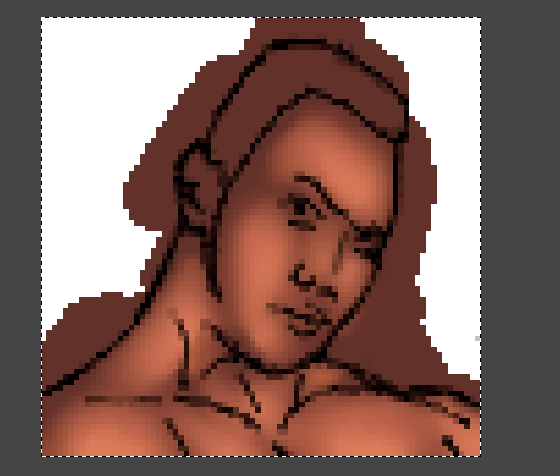
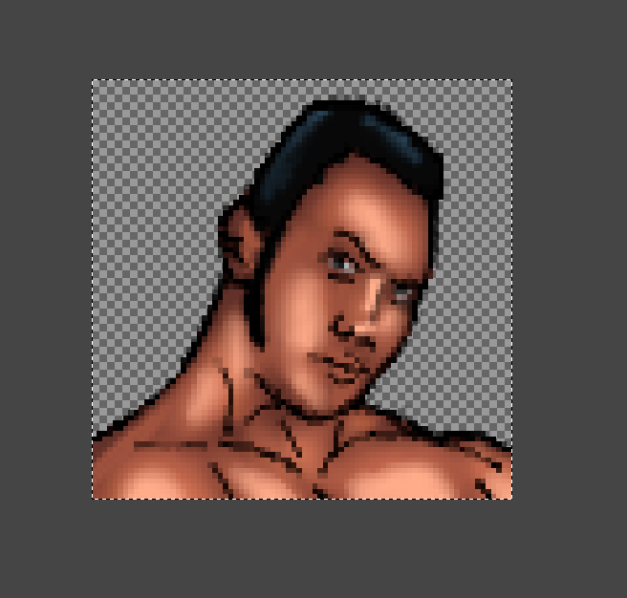
gaussian’s not really necessary after making further adjustments with the highlights and creating separate layers for hair color and eye color, I landed on this

and this is where I’ll stop for now til I get time to finish it up hopefully this makes sense to all of you
okay folks, I rushed through the last of it it’s not perfect, but here we go I’m going to assume you know how to clean up the edges you should have a cache of backgrounds to use from the existing characters; I’m going to use this one

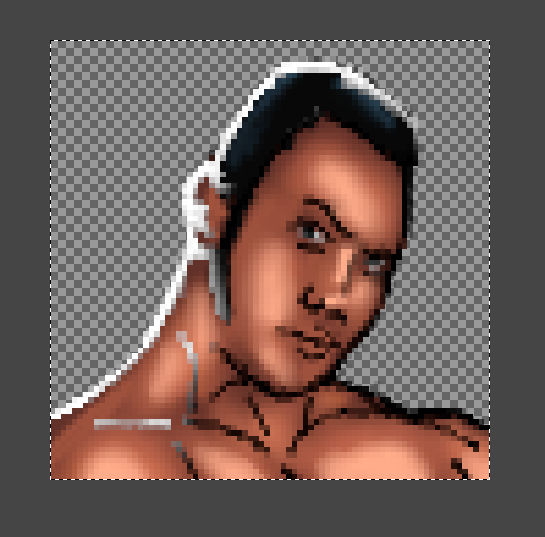
this is what we have right now
now what you’re going to want to do is copy your line art and invert it very slowly and gently, with a soft edge eraser, erase this

then you’re going to want to copy the entire image (underneath this white line art layer), and invert it + colorize it to a deeper color (in this case blue) Make sure to use LINEAR invert by the way pre-colorization
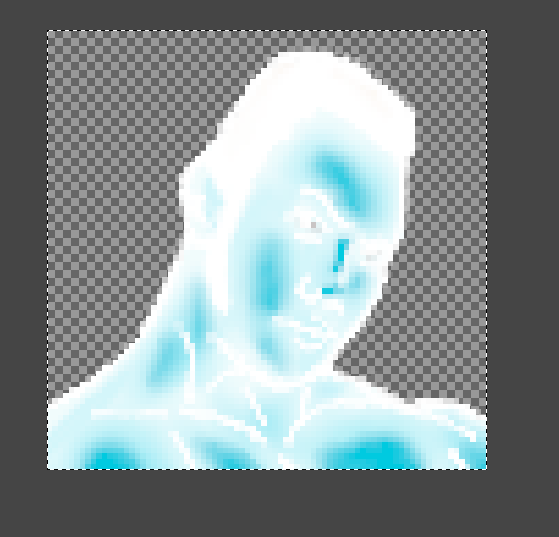
colorized

set your brush to a big size and to an opacity of about 30 and start gently erasing I can’t teach this, you’re going to have to get a feel for it but basically try and follow the edges of his face to contour his existing features you end up with this
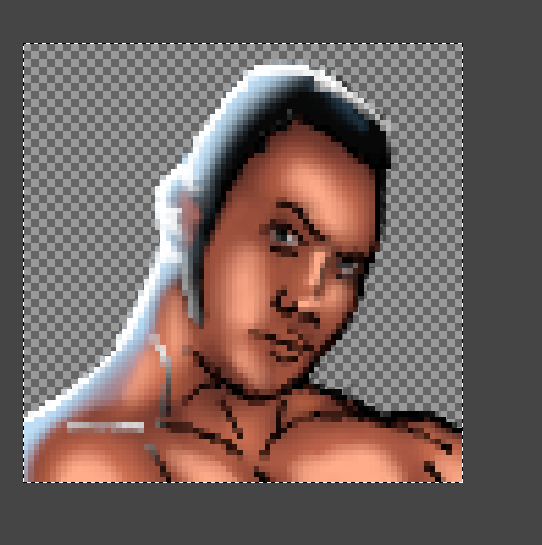
do some final cleanup of the edges, apply the background, create a new layer from visible and apply the palette…

could be better, but I think that’s world record time for me (one hour?)
and the tweaking never stops from there, whether others notice or not

(it stops for this one though ‘cause I’ll never use it)
just so everyone doesn’t just keep using that blue background, here are some others you can use:


